www.constantcontact.com Login : How do I set up a Constant Contact account?
Log in to Constant Contact small business engagement marketing tools at login.constantcontact.com/login. With Constant Contact, you can create effective email marketing and other online marketing campaigns to meet your business goals.
The Sign-up Landing Pages help you capture new contacts online, through a standalone webpage that we host for you. You can pick one list for each landing page, and create as many landing pages as you need to share with targeted segments of your audience.
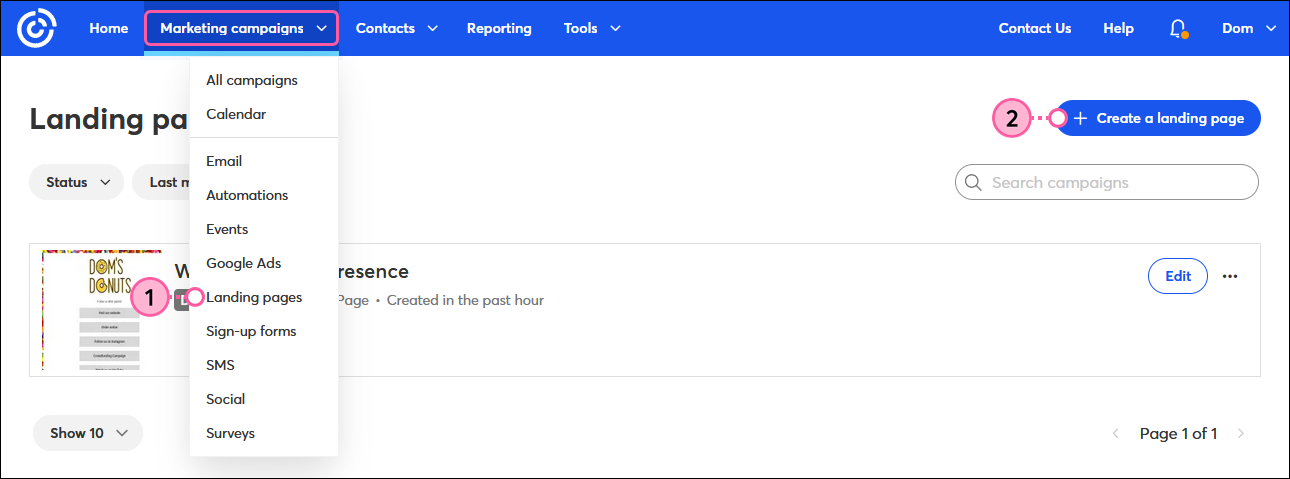
1. Click Marketing campaigns > Landing pages.
2. Click the + Create a landing page button.
3. Click the Sign-up Landing Page option.
4. Choose a landing page overlay with Sign-up Landing Page option selected
5. Click anywhere in the landing page name in the upper left-hand corner.
6. Enter a name for your landing page into the Campaign name field. The name must be unique and can have a maximum of 80 characters. This name is to help you recognize the landing page within your account and your contacts never see it.
Click Save.
7. Landing page editor with name field and Rename overlay with Campaign name field and Save button
8. Click anywhere on the Form block or Sign Up button to edit the form fields.
9. From the Form fields menu:
- Select the list you want to add new contacts to, or select “Create list” if you need a new one.
- Add the SMS marketing opt-in field.
- Select the standard fields you want to include on your form.
- Select the custom fields or create new custom fields to include on your form.
- Make fields required so your new contacts have to fill them out before they can submit your form.
10. Click the Done button.
11. Use the Build, Images, and Design tools to customize the branding and content for your landing page.
12. Use the Build, Images, and Design tools to customize the “Thank You” page that your new contacts see after they successfully submit their information through your landing page. Rxpress a simple thank you, or you can give some kind or reward—it doesn’t have to be monetary and can be something like information or early access!
Note: You can get creative with images, blocks like the Navigation Bar block, the Coupon block, and the Read More block, and by inserting documents hosted in your Library or linking a Nift gift card.
13. Click Continue.
14. Update the settings for your landing page and click Continue:
15. Click Activate.
Now that your Sign-up Landing Page is created and activated, all you have to do is share it to start collecting new sign-ups. A great place to get started is by sharing your landing page in your social media profiles. Give your form a little time, and then you can start checking the reporting to see how well it’s performing too.