https://taxation.punjab.gov.in/ :
Home Page : https://taxation.punjab.gov.in/
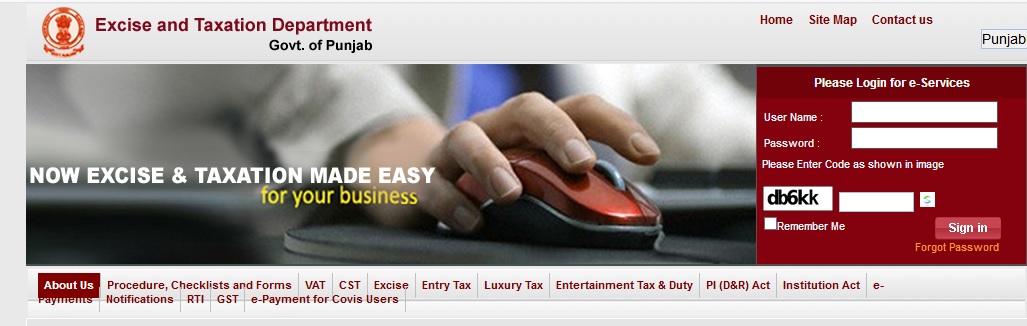
Login here : https://taxation.punjab.gov.in/vat16_20/
Punjab File VAT Return
1. VAT 15 is the VAT Return Form carried out by VAT dealers across Punjab, which includes attachments such as VAT 18, VAT 19, VAT 23, VAT 24, and CST-1.
2. Currently, dealers are downloading and submitting each of the above-mentioned forms individually (6 forms in total, including VAT 15).
3. According to the new process, the new VAT 15 will be a single consolidated form with all attachment forms and Work Sheets interrelated within the same form.
4. The following attachments will be included in the onlineVAT 15 form:
I. Index Sheet I.
CST-1, VAT 23,VAT 24, VAT 18,VAT 19, VAT 18,VAT 19, VAT 18,VAT 19, VAT 18,VAT 19, VAT 18,VAT 19, VAT 18,VAT 19, VAT 18,
III. Work Sheets Index
Worksheets 1–6 (Volume IV)
Sections V. VAT 15 and VI. Payment
5. The entire procedure is outlined in the following slides.
6. For more information, please see the Instructions Sheet and FAQs supplied separately on the portal.
Steps in the Process:
1. The current portal will be visited by the user.
2. A link to “e-filling of VAT 15 & VAT 20” will be available on the website.
This link must be clicked by the user.
3. The user will be authenticated with his e-Filling User-ID and Password after clicking.
4. The user will be prompted to generate a new password in order to get access to the COTIS site and complete the VAT 15 form.
5. After logging in with a new password on the COTIS Portal, the dealer will be able to obtain the VAT 15 smart form.
6. Users who have already transferred their password (or filled out VAT 20 online using the new portal) will not need to complete steps 3 and 4.
After the second step, a direct connection will be available.
7. After completing and validating the form, the user will be able to submit it to his log-in.
8. Following the upload, the user will be presented with a confirmation page.
9. Through his login, the user can also print the Reference Receipt generated on the portal.
Filing Tax Returns: A Step-by-Step Guide
1. Because this is a new form, please read VAT 15 and its attachments before beginning to fill it out.
2.Complete the Return Data Form:
To give data in the correct format, navigate to each field in each section (Format will get reflected while filling data)
3.ValidatingSheet (ValidatingSheet):
On each sheet, click the “Validate Form” button to confirm that the fields are properly filled and formatted. If there are any errors, the form will ask you to correct them. On the first sheet, there is a “Create File for Upload” button for confirming all data in your return.
4. Create a file to upload:
After you’ve filled out all of the needed fields and validated them, click the “Create File for Upload” button to generate an XML file. This XML file will be automatically saved in the same folder as the Return Form.
5. PORTAL FILE UPLOAD :
To submit the file to PORTAL, log in with your TIN and proceed to e-Returns, where you must browse and upload the proper file from your local system.
Fill in the following information in the Return Data field:
1. All Light Grey cells are input fields that should be filled up.
2. Calculated fields are all the dark grey coloured cells (as per the Calculation of VAT forms).
While verifying the form, you can alter those fields that will prompt you about the changes you’ve made. The user can also bypass and proceed with the altered values if desired.
3. Read-only cells are all blue-colored cells. The values in these cells are not editable.
4. You can only file a return for the current or previous period. It is not permitted to look into the future.
5. All fields marked with a red asterisk (*) are required in all circumstances; however, fields marked with a green asterisk (*) are considered optional in some cases. For example, in VAT 23, TIN NO is indicated with a green (*) because it is optional for “Retail Sales,” yet “Value of Goods” is highlighted with a red (*) since it is required in all circumstances.
6. You will not be able to continue if mandatory fields are not completed.
7. The data you submit must be in the correct format; otherwise, you will be unable to continue.
8. Amount fields will not accept decimal or negative values. In addition, commas are not permitted in sum figures. This must be ensured even while pasting values from another file.
9. To avoid any dislocation of Buttons inside the form, please make sure that your Return Forms are always kept in 100% resolution.
Option to Copy and Paste:
If you want to copy and paste data from an external source, follow these steps. To paste data from an external source, first open your Return Form, then your source file from which you want to copy the data. Please ensure that material is only copied from and pasted into relevant parts; otherwise, the file may upload with an error.
Consider the following example:
1. Only copy the amount to the amount fields.
2. Negative figures, decimal figures, and figures with commas are not allowed in copied data.
3. Date column values must be in the format dd/mm/yyyy
4. When copying or pasting fields with Drop Downs (List of Values, such as Nature of Transaction, District, State, and so on), make sure the values are exactly the same as they were in the original form.
These copy paste problems may be overlooked while “validating” the sheet, but they will cause the form to fail to upload.
Fields to Unlock :
If you copied data from another Excel sheet, please press the “UNLOCK FIELDS” button after pasting the data into the return forms.
Getting around the cells:
After you’ve found the desired cell, hit the tab key on your keyboard to advance to the next entry field.
Changing the sheets :
After you’ve filled out one form and validated it, click the “NEXT” button to continue on to the next form (sheet). You must first add the attachment form to enable the next button. You can return to the previous form by pressing the “BACK” button.
Rows to be added:
Wherever possible, you can add rows to the table to represent additional entries. You’ll be prompted to enter the number of rows you’d want to add. Please add 1000 rows at a time to ensure smooth operation. If you need more, you can keep adding rows in multiples of 1000. This, however, may vary and be dependent on the performance of each unique system.
Rows should be removed:
In the same table, you can delete the pre-selected rows. You must choose any cell in the same row that you want to delete. For successive rows, multiple removals are permitted.
Creating an XML File:
After you’ve completed the Return and checked your forms, click the “Create File for Upload” button to generate XML.
After you’ve generated XML, Excel will ask you where you want to save the file, which will be in the same folder as the Return Form.
The produced XML will be named FORMNAME TIN QUARTER YEAR HASHING.xml.


Be the first to comment