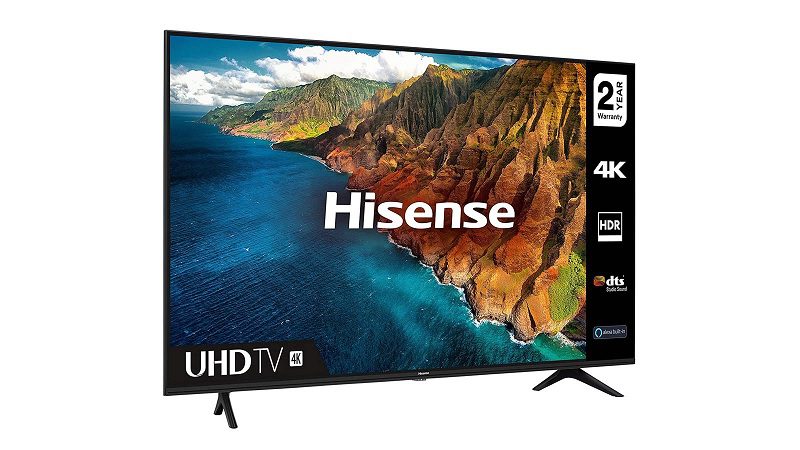
How to connect a Hisense TV to your phone and Amazon Fire TV
In order to connect your Hisense Smart TV to WiFi, first press the Menu button on the TV remote. Now navigate to Network > Wireless > Choose your WiFi Network. Grab the USB cable and the power adapter from the FireStick’s package and connect them to your computer.
A HDMI to lightning adapter or a digital media player like Roku or Google Chromecast will be required if you want a Hisense TV to work with your iPhone.
Anyview cast, a built-in feature of Hisense’s Anyview app, can be used to connect Android phones wirelessly.
The Amazon FireStick is one of the best and most versatile streaming media players available today. The FireStick can, however, be used with a Hisense Smart TV. If you’re using an Android TV, you can use the device, right? However, does the FireStick work with all Hisense TV models?
Since FireStick is a pluggable device that can be used either by plugging into the HDMI port or by using an HDMI extender for older models, you can use it with all Hisense TVs. FireStick 4K is only compatible with Hisense TVs that support 4K resolution and 60Hz refresh rate.
How to connect a Hisense TV to your phone
• Setup on your television
• The System icon can be accessed by clicking on it
• To access the Settings menu, click the Settings icon that appears
• Open the Network icon and select Network Configuration from the drop-down menu. Ensure that Wireless is selected in the network configuration
• Anyview stream or Anyview cast can be found in the settings menu page. Whichever option appears first should be your first choice.
• Make sure your TV and Android device are connected to the same Wi-Fi.
• On your smartphone, open the Google Home app. If you don’t already have it, you can download it from the Google Play Store and install it.
• Right-click the hamburger-shaped icon in order to access the menu. To get to the menu, click on this link.
• Selecting Cast Screen/Audio will bring up a drop-down menu with a list of all supported devices.
• If your smart TV appears on the list, simply click on it to begin the setup process.
CONNECT THE FIRESTICK TO THE HDMI
Begin by looking on the back of your Hisense TV for a free HDMI port.
It’s easy to connect your TV to the FireStick with the HDMI extender cable included in the box.
Plug your Amazon Firestick into the HDMI extender cable’s other end.
Grab the USB cable and the power adapter from the FireStick’s package and connect them to your computer.
Connect the USB power adapter to the other end of the USB cable that you plugged into the FireStick.
Turn on your television by plugging in the power adapter.
Connect your Firestick to the Internet
• The device will begin scanning for available WiFi networks as soon as you select your preferred language.
• The remote can be used to enter your WiFi password and connect to the network you prefer.
• The FireStick will be checked for updates as soon as a WiFi connection is established.
• There may be a screen after the update that asks you to log in to your Amazon account or sign up.
• Your WiFi password and parental controls can be saved when logging in to your Amazon account.
• Next, you’ll be given the option to select your TV brand and sync the volume button settings of your FireStick remote.
• The final step in the FireStick setup process is to select your preferred streaming services.

